
How to Pack 101
Packing your home is one of the many services that 2Brothers offers. This can get quite expensive so many people choose to do their own packing. Packing must be done correctly because a perfectly packed truck cannot make up for a poorly packed box as far as potential damage is concerned. The purpose of these articles is to provide people with free professional advice about the best strategies to use when packing each room of your house. We also have valuable articles dedicated specifically to kitchen packing, bathroom packing, home office packing and green moving tips.
 Items needed to pack every room are as follows:
• Boxes– they come in many sizes and each size has a separate purpose
• Packing paper– the best thing for keeping everything safely padded inside the box
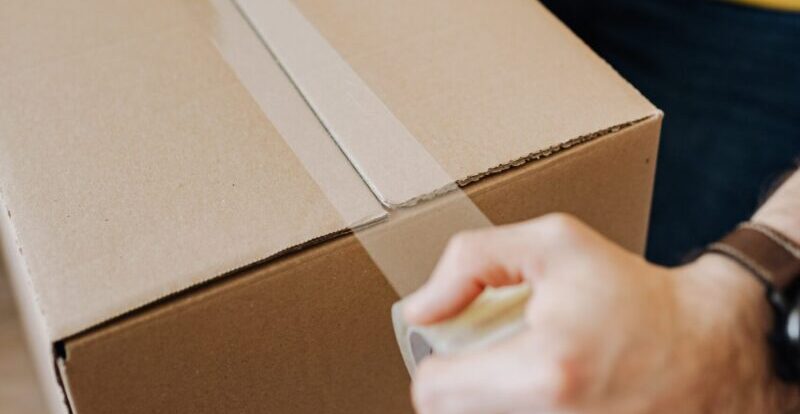
• Tape– 2 inch width is best
• Markers– boxes should be labeled with its room destination and a short list of its contents
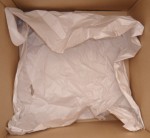
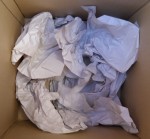
Packing paper is a great commodity and should be used frequently as it will add padding and help to fill the box. Ideally, every box should be filled to the brim as it provides structural integrity thus reducing the potential of collapse and damage; a full box is a strong box. “The Shake Test” is a good way to test if the box is ready to be sealed. If nothing moves when the box is slightly shaken, it is ready. If there is movement, more padding should be added into the gaps. Clothing, towels, and other fabrics can also be used as a replacement for paper and to save some money. While this may seem like a good alternative, some warning must be made. These items could be damaged either by getting torn by the wrapped items or from whatever liquids may be packed. This method will also make unpacking difficult as items will be strewn throughout all of the boxes.
When the box has passed the shake test and is sufficiently full, it can be sealed and labeled. As stated before, the label should include the room (where it is going to or came from) and a list of the major items in the box (up to three). “PBO” can also be added to the label and it stands for “Packed by Owner.” This just helps to determine if an insurance claim can be made on broken items found in the box. Under the 2 Brothers policy, only items packed by the movers can be claimed if they are broken.
